This article is for Admins setting up their organization's account for the first time.
(If you are a new Admin whose organization already has an established Affluent account, please go to Part 2: New User Set Up and Brand Manager)
- First you must verify your account and log in. If your verification email has expired contact support@affluent.io
- When you log into Affluent for the first time you'll be directed to the Brand Manager section. Enter your brand name to get started:

- If you have multiple brands, click the "+Add New Brand" button to add more
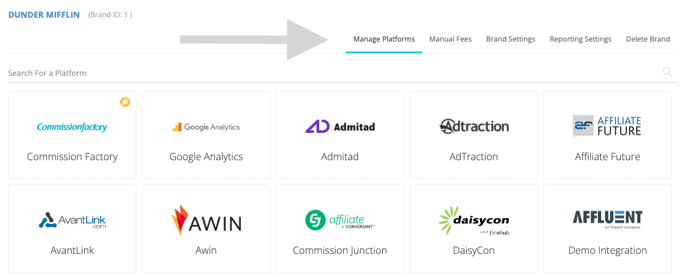
- Click on each brand and a list of platforms will display on the right side. Start connecting your brand to each platform by selecting the platform and entering the required credentials and fields. (Additional information can be found here for each platform connection if needed. Take note of certain networks that have nuances when connecting).
- After you have connected your brand, make your way through the tabs listed at the top of the screen:
- Manual Fees tab: Manual Fees allows to you to add agency fees and non-reported on a per platform basis.
- You can add one-time fees or recurring fees
- These fees will be factored into "total spend" or "RoAS" for reporting
- Brand Settings tab: Add the brand's logo in this section:
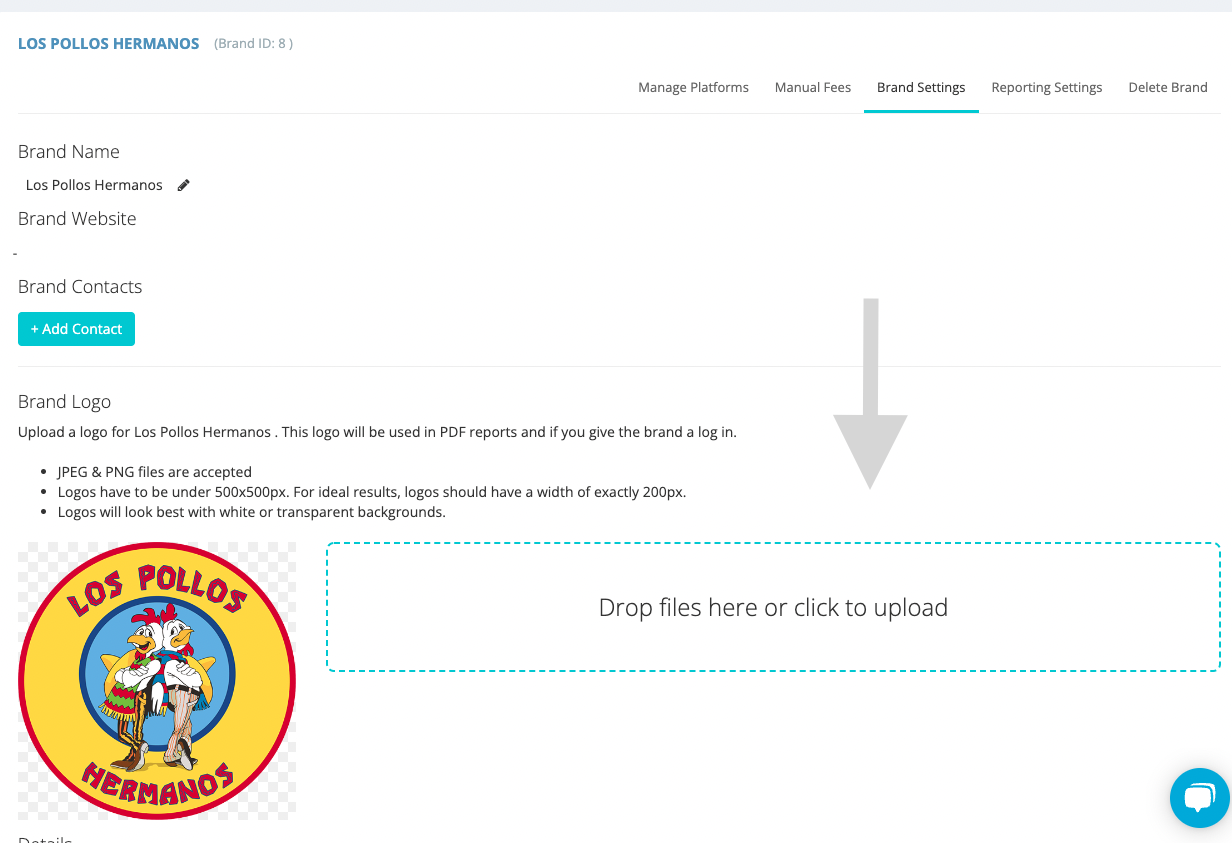
-
- Add brand contacts and brand website if you wish.
- Below the brand logo you can assign Brand Report Colors for your brand, rather than using the default colors.
- In the future if you need to change the brand name you can edit it on this page at the top
- Reporting Settings tab:
- Select the default currency
- Choose the default first day of the week
- If the brand uses a fiscal calendar, upload a fiscal calendar via CSV.
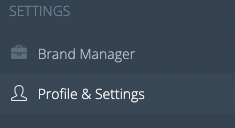
Profile & Settings:
Here are a few sections you may want to take note of:
- User Management: Add more users if needed and assign them an access level
- Appearance: Add a logo for reports, portal branding and a background for PDF reports